Most articles about custom glass packaging gloss over the messy middle. Brand has an idea, manufacturer makes the thing, container shows up at the warehouse. The truth is that there are eight discrete stages between sketch and shipping, each with its own bottleneck, and the brands that get great custom packaging are the ones that understand the bottleneck at each stage and prep for it.
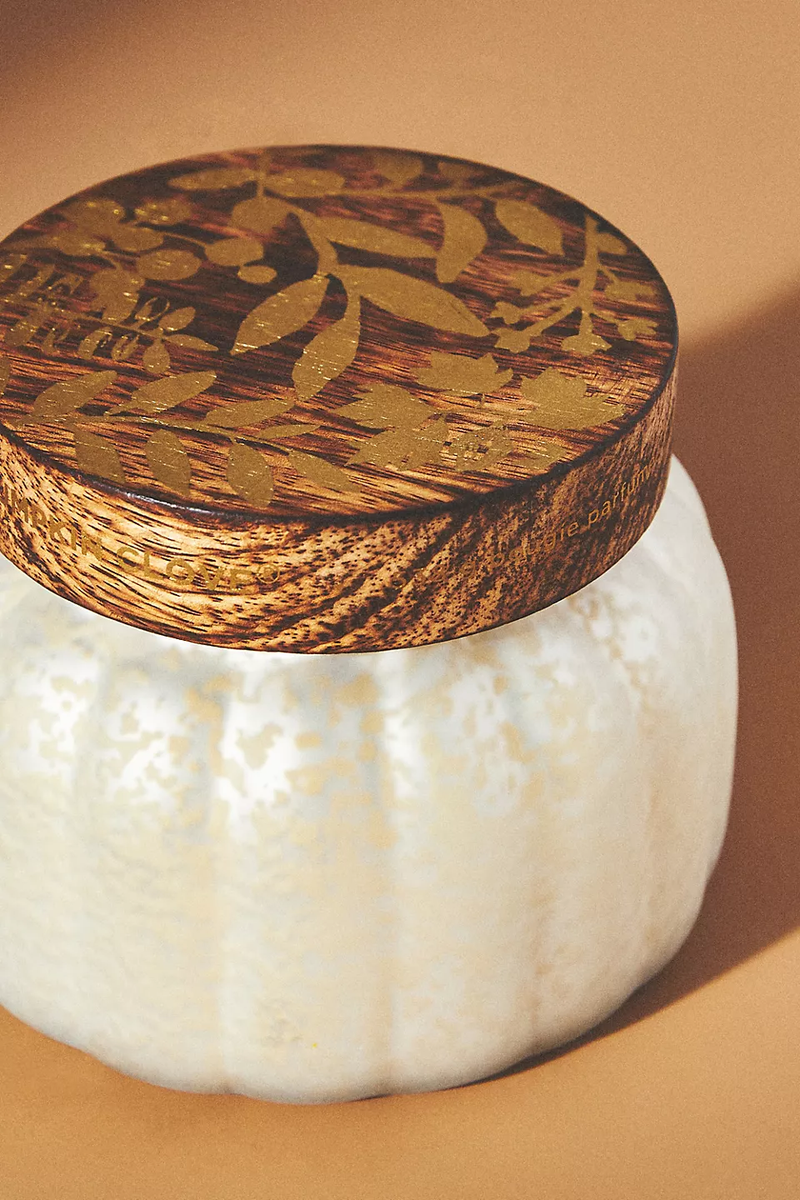
Here's the actual process for a custom diffuser bottle - say, a 200 ml bottle with a unique shoulder shape, your brand colour in a frosted finish, and a custom neck for a brass collar. Eight weeks from start to first production unit if everything goes well; twelve if it doesn't.
Stage 1 - Brief (Day 0)
The brief is half a page. The brands that get this right write it; the ones that don't, talk it. The half page covers:
- Capacity (200 ml of fill, plus 5–10% headspace = bottle capacity ~218 ml)
- Closure type (neck thread spec, collar dimensions, dropper compatibility)
- Reed compatibility (most diffuser brands ship a 4mm reed, so the neck ID needs to be at least 6mm but ideally 8–10mm)
- Brand-specific design references (mood-board imagery, three competitor bottles you respect, three you don't)
- Target retail price and projected first-year volume (drives mould complexity decisions)
- Markets you're selling into (regulatory: REACH for EU, Prop 65 for California, FCM if there's any food contact)
That's it. The brief should not include specific dimensions for the body - that's the manufacturer's job to translate from the design brief, not the brand's job to specify in millimetres.
Stage 2 - Concept design (Days 1–7)
Our design team produces three concept routes. Each is a CAD render and a flat technical drawing. The three are deliberately different - not three variations of one idea, but three interpretations of the brief. One typically leans classical; one architectural; one organic.
The brand reviews and picks one route to develop. About 70% of the time, the final design is a deliberate hybrid of two routes - "Route A's shoulder, Route B's base." That's a feature, not a bug, of presenting three.
Bottleneck at this stage
Brands who haven't internally aligned on the design brief discover it here, painfully. We've seen review meetings where two co-founders pick different routes. The fix is upstream: get internal alignment before stage 2.
Stage 3 - Technical drawing & feasibility (Days 7–10)
Once a direction is locked, the designers produce a manufacturable technical drawing. This is where art meets physics.
Glass has rules. A sharp 90° corner at the shoulder of a bottle is impossible to mould without weak points. A wall thickness below 2mm is fragile. A base diameter narrower than 60% of the body diameter is unstable. A neck thread that's beautiful in the render but doesn't match any standard closure size will work - but only with a custom closure, doubling the project cost.
The feasibility document the engineer hands back to the brand has three sections:
- Will-make-as-drawn: dimensions and details that work as-is
- Will-make-with-changes: elements that need adjustment, with the proposed adjustments and their visual impact
- Won't-make: rare, but real - physical impossibilities that need a design rethink
Bottleneck at this stage
Brands resist the "will-make-with-changes" list, because they're emotionally attached to the render. The engineer is right. Glass is glass; it cannot be talked into being different.
Stage 4 - Mould-making (Days 10–28)
Once the technical drawing is approved, mould-making starts. For a bottle, the mould is typically a two-part split mould in beryllium-copper or grey cast iron, machined from a billet by a CNC mill, then hand-polished.
This is where the project sits idle from the brand's perspective for two to three weeks. The mould-maker is busy; the brand has nothing to do. We send progress photos at the rough-machined stage (day 18 or so) so brands can see the shape emerging.
The mould costs roughly $1,200–$2,800 for a bottle in this size range, depending on complexity. The cost is amortised across the MOQ, so on a 5,000-piece run it's $0.24–$0.56 per bottle. The mould remains the property of the manufacturer unless contracted otherwise, but it's reserved exclusively for the brand's PO history.
Stage 5 - First-shot samples (Days 28–35)
The first samples off the new mould. They're not perfect - there are always things to adjust on first-shot. Common findings:
- Mould seam slightly visible on the shoulder. Fix: extra polish pass on the relevant mould face.
- Base slightly out of plane (bottle wobbles 0.5°). Fix: re-machine base of mould.
- Neck thread engages with closure but feels stiff. Fix: 0.2mm thread relief.
- Wall thickness slightly heavier than spec on one side. Fix: re-balance the gob delivery on the forming machine.
Each of these is a 1–3 day fix. The brand gets a second sample after the fixes, and the loop continues until everyone signs off - usually 1–2 iterations beyond the first.
Stage 6 - Decoration sampling (Days 35–45)
Form is locked, now decoration. For the example bottle - brand colour in frosted finish - there are two sub-samples:
- Colour match. The brand's colour, hit on glass, in the actual frosted finish. We pull a Pantone-matched spray sample, frost-etch over it, and compare side-by-side under D65 daylight to the brand's reference. Hand it back. Usually one adjustment cycle.
- Decoration tooling. If there's a logo, screen-printed label, decal, or hot-foil application - each of these has its own setup (screens cut, decals printed, foil rolls cut) and its own colour-match step.
Decoration tooling is a separate line-item charge - $80–$250 depending on type. Amortised across the MOQ same as the mould.
Stage 7 - Pre-production sample (Days 45–50)
The "PP sample" is the single most important sample in the project. It's an exact replica of what production will look like: correct form, correct decoration, correct packaging, correct labelling. The brand approves this in writing, and we use the approved sample as the QA reference for the bulk run.
If something looks wrong about the PP sample - even something minor - fix it now. The cost of a fix at PP stage is one day. The cost of finding the same problem in production is one container.
Stage 8 - Bulk production (Days 50–80)
Forming runs first - typically 3–7 days for a 5,000-piece run on a single forming line. Decoration runs after, in batches of 500–1,500 pieces depending on the decoration type. QA samples per AQL 2.5 / Level II are pulled throughout, with a final pre-shipment inspection at the end. Packaging is built around the decoration step.
Bulk production photos go to the brand at three checkpoints: forming complete, decoration 50% complete, packing complete. Most brands look at the photos; some want a video walkthrough; one of our biggest clients flies in.
The handoff to shipping
Containers leave Nhava Sheva port roughly twice a week to Europe, three times a week to North America. The forwarder books slots 7–14 days ahead of factory dispatch. From factory gate to container loaded on vessel is typically 10–14 days of buffer that brands often don't see because it's bundled into the lead time quote.
The reason this takes eight weeks
None of the stages above can be parallelised in any meaningful way. The mould has to be made before samples can be shot; samples have to be approved before decoration starts; decoration has to be locked before bulk runs. Telling a brand "we can do it in four weeks" requires cutting corners on at least two stages, and the corners come back to bite at PP sample or - worse - at first delivery.
The right way to interpret an eight-week timeline is not "this is slow." It's "this is what an honest manufacturer is committing to." Anyone promising less probably isn't telling you what they're skipping.
Designing a custom diffuser, candle, or fragrance bottle? Our ODM team takes briefs at any stage - sketch on a napkin, three competitor references, or a fully specced CAD. Start an RFQ with whatever you have.